“A tavola non si invecchia”. - Italian proverb (At the table with good friends and family you do not become old).

Sharing authentic Italian recipes entrusted upon me through the privilege of being invited into many Italian homes and kitchen’s abroad. I travel, cook, eat, share, learn and photograph my experiences, a truly soul enriching journey. There are now over 100 recipes on this blog to search from. I am a Melbourne born girl who now resides in Pietrasanta, Italy. Sharing my love for food and all things Italian with you. I am not a professionally trained chef, just a person that really loves cooking and has made my passion my reality! Through talent and drive I now work as a private chef in some of the most prestigious private villa`s here in Tuscany, Italy!

Saturday, April 20, 2019

Peas and pancetta- Piselli e pancetta

It's almost embarrassing to call this a recipe, it's that simple. But, it is a recipe none the less, so I feel that I need to jot it down. I am finding that this blog to me lately is becoming a memoirs from my kitchen. I don't know who I am passing these recipes onto, but they are here. That to me somehow provides me with comfort. Speaking of comfort, these pea's are the perfect accompaniment. They are always one of the staple side dishes whenever I cook for special occasions. They are always comforting to have on the table, as to me they represent tradition, they will always be there. Countless times I have cooked these for the people I love. My girlfriend Marybeth in particular is a mad lover of this recipe. So piccola, here is the recipe!
I also like food combinations that start with the same letter, this time both in English and Italian.
What you need:
About 350g of pancetta (you can substitute for bacon)
500g of peas (Yes, frozen is fine. The only time I will use frozen).
Two cloves of garlic 
A good drizzle of olive oil
A sprinkle of chilli flakes
Salt
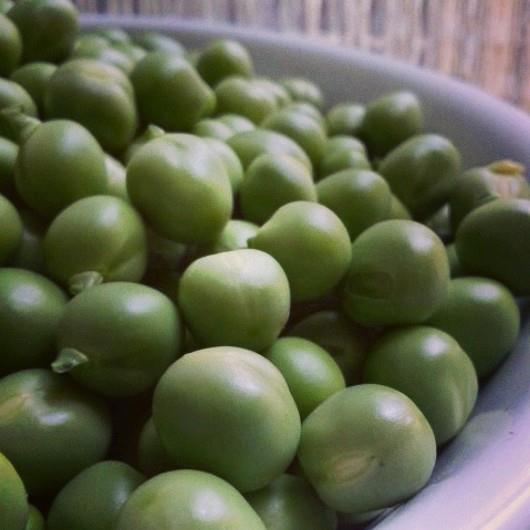
fresh peas but frozen is totally ok
How to make:
1: Semi defrost peas
2: Cut the pancetta into small cubes, removing the skin and any access fat, but the fat is good as it will crisp up.
3: Add the pancetta cubes to a hot pan and cook until really crispy.  No oil is necessary. If you think they are crispy, just continue cooking as long a they don't burn. Remove from pan and drain access oil. Set aside.
4: Smash garlic cloves and add to a frypan with a generous amount of olive oil. Slightly warm oil and infuse it with the flavour of garlic.
5: Add the peas to the pan, and make sure each pea is coated in oil.
6: Add a tablespoon of water which will help with the cooking process.
7: Add chilli flakes, pancetta and season well with salt.
8: Cook until the peas are cooked though and flavoured well, this should not take any longer than 20 minutes. Serve immediately.


Sunday, April 14, 2019

Slow cooked roast lamb- L'angello arrosto

Ah roast lamb, but not just any ole roast lamb. It's show stopping nine hour slow roasted fall off the bone roast lamb. In fact the best roast lamb ever, but minimal fuss required. Truthfully I am not typically the one to cook Easter lunch, as I have always been invited to friend's houses over the last several years whilst living in Italy, where lamb has always played a starring role. Probably one of my most notable memories was a family who had a dedicated room for frying, and lamb cutlets were no exception. Last year was my first year back here in Melbourne, and I cooked this beauty. That's how slow I am with my blog posts these days. However, as Easter 2019 is broaching, I thought I should share my fool proof recipe for you.
The tradition of eating lamb at Easter dates before the birth of Christianity.  To discus the history of religion and it's connection to lamb I would have to start another blog. However Christian's refer to Jesus as the "Lamb of God", so it is not surprising that lamb plays an important part as part of Easter celebrations. On a less symbolic note, in Europe centuries ago, lamb would have been one of the only fresh meats available after a cold and long winter.
The best thing about this recipe is that you literally place everything in the pan and pretty much leave it in the oven, allowing the wine and lamb to get acquainted. I guarantee that the bone literally falls out, and no carving is required. Allowing you to concentrate on more important things on Easter Day, family. Buona Pasqua xxx 

What you need:
One large leg of lamb, about 3 kilo's (mine was 3.6 kilo's)
Four onions, peeled and quartered
One garlic bulb, whole bulb sliced in half
Four carrots, peel and cut in half lengthways 
400ml white wine
200ml beef stock (homemade)
Handful of rosemary sprigs 
Extra vigin olive oil
Salt and pepper
What to do:
Remember that this recipe takes about 7-9 HOURS to cook (depending on the size of the lamb).
1: Preheat oven to 120 degrees C.
2: Place a large baking pan on the stove top and heat. Brown all sides of the lamb in the pan using a little olive oil. If you do not brown the lamb at this stage, the meat will remain a pale colour.
3: Once browned, add ALL of the ingredients to the large pan with the lamb, placing the ingredients evenly around the lamb. Drizzle with olive oil and season with salt and pepper.
4: Tightly cover the pan with aluminium foil (or even better if your pan has a tight sealed lid).
5: Place in the oven and cook for about 7-9 hours depending on the size of your lamb. The lamb needs to be turned only twice during the cooking process, make sure when you turn the lamb that you cover it in it's own juices, recover and return to the oven until it literally falls of the bone.
6: The lamb is ready when the bone can literally removed with thongs, it really does just fall out.
7: Serve immediately with your favourite side dishes. It is nice to serve the lamb on a large plater with the vegetable pieces soaked in the  juices and presented with some fresh sprigs of rosemary. Drizzle over some of the remains pan juices. Enjoy
#pasqua #lamb #angello #arrosto #buonadomenica 

Tuesday, February 19, 2019

Crema al lime- Lime curd

So there is the ole famous quote "when life throws you lemons, make limoncello". And we've all been there, made that! But, what do you do when the man at the local market gives you a massive bag of limes? Well, make you make crema al lime (lime curd), of course!
I have been making lemon curd since way back when, but today decided to use the same trusty recipe to make a lime version.
This is stable in my cucina, and is perfect stored in the fridge to whip up last minute desserts. The filling is perfect to fill pastry tarts, and super cute served as fingerfood sized tartlets. I have been asked so many times for this recipe over the years, so I am finally writing it down, before I forget it! 
This filling is guaranteed to change your face, with it's super zingy kick, and sure to be a party pleaser.

Ingredients (this made 10 small jars- half for smaller quantities):
fourteen limes, juice and zest
four cups of sugar
fourteen organic eggs
250 grams of organic butter 
What to do:
1: Wash the limes and then zest the skins, squeeze the juice of the limes and add to a large pan.
2: Add the butter and sugar also to the pan and bring gently to the boil while stirring.
3: Take off the heat. In a separate bowl whisk the eggs. Very gently and slowly whisk the eggs into the lime mixture. VERY slowly.
4: Return to a low heat, continuously whisking over a low heat stir the mixture until it begins to thicken.
5: Pass the thickened mixture through a fine sieve to remove zest and any lumps. 
6: Once the mixture has thickened pour into sterilised jars.
7: Place the jars into a large pot of cold water and bring to the boil, allow to boil for 20 minutes. This will seal your jars, allowing you to store sealed mixture in the fridge for unto three months.
#lime #curd #crema #cremaallime #recipe 

Sunday, November 18, 2018

Pasta al forno con tonno- Tuna bake

It's a balmy Sunday evening and my sister is due home tomorrow as she is currently in hospital with the arrival of our family's first bambino. 
I couldn't help myself. It's like instinct takes over. How can I help I ask myself, as I glance over and discover my favourite brand of tuna and pasta in her pantry (originally put there by me). This would have to be helpful, right? Coming home, and finding a ready made, relatively nutritious meal just waiting to be reheated.
It's almost embarrassing that I didn't go to more effort, and that I am actually posting this recipe. But, once again the best things really don't need to be complicated. Stick to good quality ingredients, such as: Italian tuna in olive oil, fresh mozzarella, basil and good quality pasta. Combined with the correct cooking times, and you have a winning simple dish.
This `pasta al forno`, is basically an Italian version of a tuna bake. I am not typically a pasta bake kind of person, but it is perfect for the purpose of making something in advance. My instincts would also lean towards using penne pasta, however I used casarecce in this, as I took advantage of what was in the pantry.  
It is a written rule in Italy that any form of cheese should never be mixed or topped on seafood. However, when it is canned tuna the rule can be bent a little, and fresh mozzarella is permitted to be added. 
Bake this, and I'm sure that you will agree. This is the perfect summer meal, bursting with classic Italian flavours!
                                
What you need:
700 ml of Italian tomato passata. Homemade is even better.
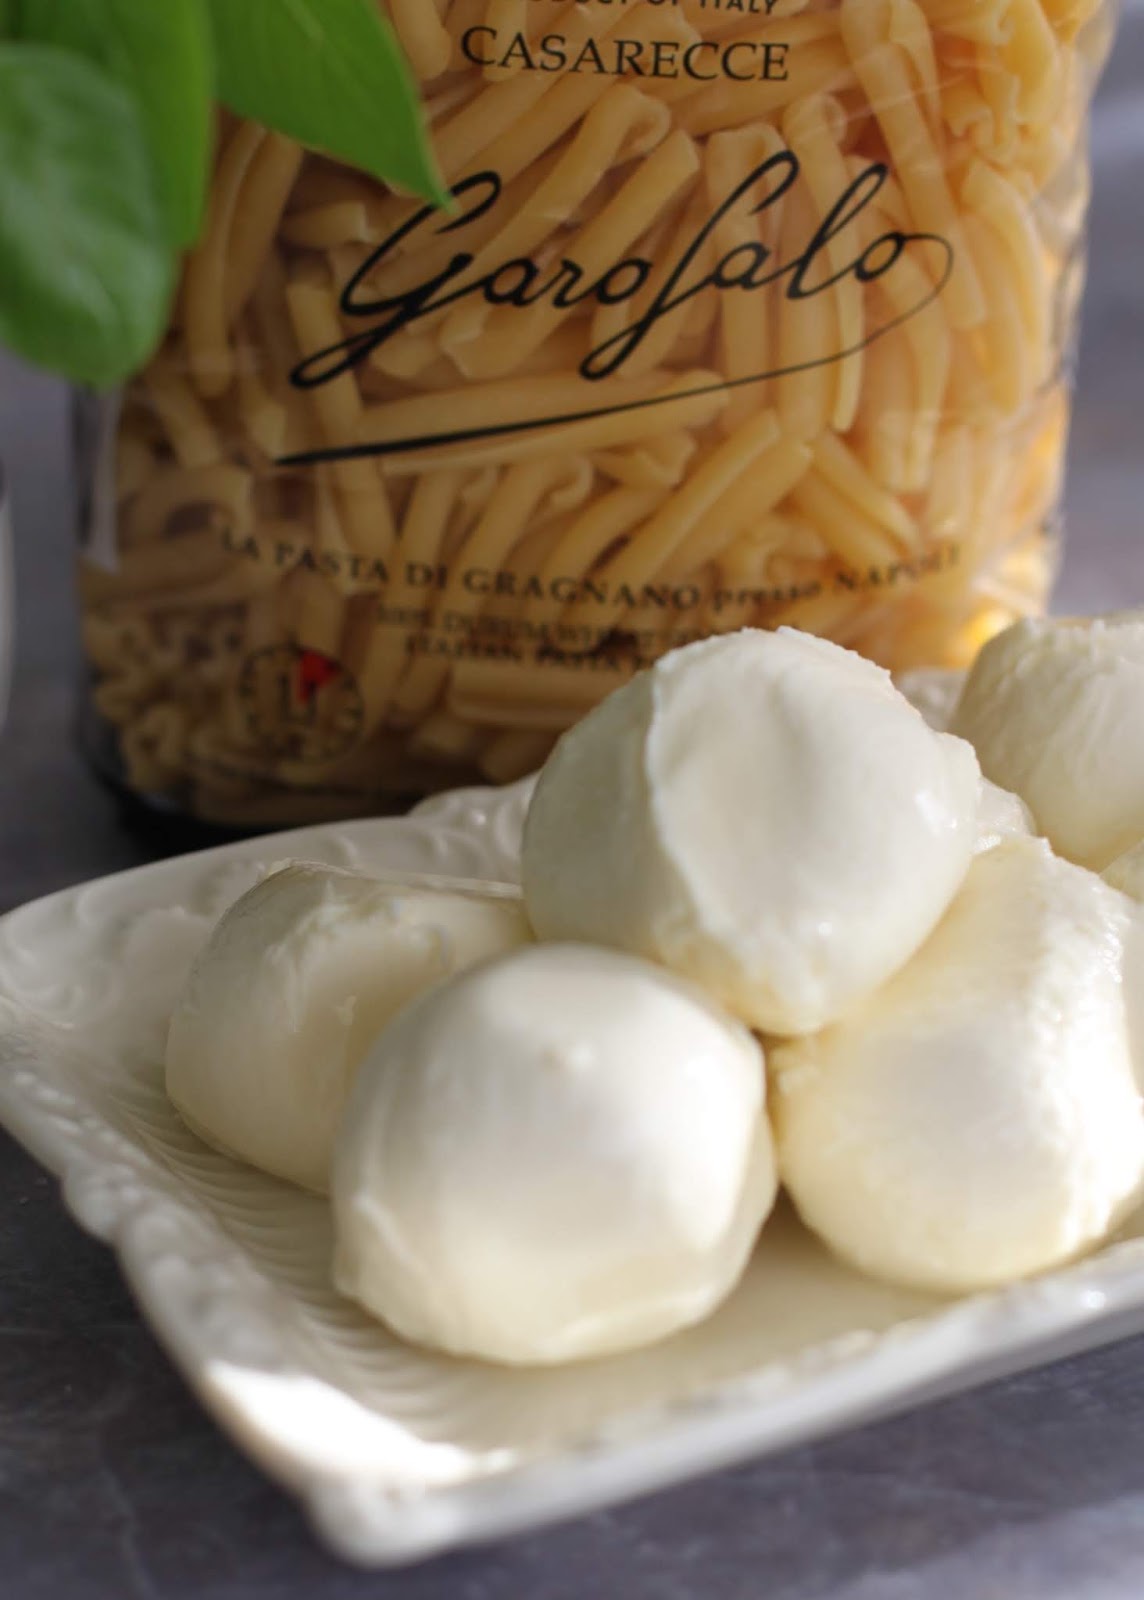
500gm pasta. I used casarecce from Garofalo 
2 x 160g Italian tuna in olive oil. I used Delicious
250g fresh mozzarella
handful of fresh basil leaves
4-5 cloves of organic garlic
good splash of extra virgin olive oil
Sicilian sea salt
How to make:
1: Boil water in a large pot. Add a good amount of salt to the pot. Add the pasta and stir well. Cook the pasta according to the instructions on the packet. If it suggests 12 minute cooking time, drain the pasta at 10 minuets. As it will continue to cook when baked in the oven, you do not want soggy pasta. Drain the pasta and set aside.
2: Lightly smash the whole olive cloves and add to the olive oil. Cook over a light heat, this will infuse the oil with the favour of the garlic. Remove the whole gloves. 
3: Drain slightly the oil from the tuna and add to the pan. Add also a handful of basil leaves. Stir well until it has heated through.
4: Add the tomato passata, salt to taste. Summer for 20 minutes.
5: Add the pasta to the sauce, and stir through to make sure the pasta is coated evenly. Chop the mozzarella into large chunks, and add the chunks to the pasta mix. Lightly stir through.
6: Add the pasta to a large baking tray, typically used for lasagne. Keep in the fridge or bake immediately. Bake for 20 minutes.
#pasta #tonno #tuna #tunabake 

Thursday, September 20, 2018

Green sauce- Salsa verde

Anyone that knows me well, will know that I am not one for sauces. In fact I cringe wh I see plates presented over drizzled with sauces. And that applies to desserts too. Shudder!
Actually that has been one of the biggest adjustments moving back to Melbourne, is that most meals are doused in sauce. Even side dishes come presented with a side of dipping sauce. Why? It is so unnecessary and only adds unwanted calories (I even hate that word), and makes for unhealthy choices.
However, if you must add a sauce, this green sauce is exactly what a sauce should be in my humble opinion. It's smooth, fresh and healthy. 
Traditionally used to drizzle over bollito di carne (slow cooked boiled meat) to add last minute freshness, this green sauce is also magical on fish or your favourite carved meat. Depending on the region, some recipes call for bread and egg yolks. However, I omit both opting for quicker and healthier version.
I was first introduced to salsa verde when living with Silvia in Versilia, she would always have a jar of this in the fridge and  it would often make an appearance on the dining table. She would often drizzle it over fish, salad and ripe tomatoes. 
Throughout my working years I was reacquainted with this vibrant sauce, as the lady I worked for was an avid fan. My fridge would always be stocked with a fresh batch! 
What you need (will make about a cup):
One packed cup of flat leaf/Italian parsley 
One teaspoon of colavita capers http://www.basile.com.au
Five delicous anchovy fillets http://www.basile.com.au
Two gloves of homegrown garlic
Juice of one small lemon
1/2 cup of colavita olive oil http://www.basile.com.au
Pinch of salt
How to make:
1: Place all ingredients in a blender and blend to desired consistency. Experiment with favours and personal preference. You may need to add more capers or lemon juice for example!
2: Place in a glass jar and keep in the fridge for about a week. Top with a thin layer of olive oil to retain freshness.
#salsavere #greensauce #italianfood #sauce #cucinaitaliana 

Monday, September 17, 2018

Preserved fennel- Finocchi sott’aceto

Fennel, oh how I love thee.  I could eat it any which way. 
Typically I love it raw and shredded in salads or roasted with a drizzling of olive oil turning this robust bulb to a tender caramelisation. It is the perfect accompaniment to pork, naturally assisting in cleansing the palette. However fennel does not only lend itself towards pork, it is also favourable with fish. Fennel also tends to marry itself with foods that are orange in colour. Such as orange and fennel salad (search my blog for this recipe), or  roasted carrot and fennel. 
However the other night as a guests at one of my dearest friends house, I encountered for the first time preserved fennel. Presented simply in a salad. The preserving method allows you to enjoy fennel all year round, adding a tangy zing to it's natural aniseed flavour. But most importantly honouring the important crunch. I am surprised that I never encountered the preserving of fennel in Italy, as Italian's are crazy for it.
I enjoyed fennel immensely when living in Italy as it is indigenous to the shores of the Mediterranean, and would rejoice when this wonder would come into season.  Fennel can be dated back to ancient Greek times and can be taken for a long list of medicinal purposes. I often enjoy a centrifuga di finocchio (fennel juice), as part of a tasty cleanse.
such a cute fennel picked straight from my friends orto (vegetable garden) near Florence 

Ingredients (this recipe makes six large jars):
five fennel
two cups apple cider vinegar
two cups of white distilled vinegar
two cups of water 
1/2 cup of sicilian salt
six cloves of garlic
three teaspoons of mustard seeds
three teaspoons of whole peppers
three teaspoons of fennel seeds
1: Steralize jars and lids in boiling water 
2: Cut fennel finely and in slices 
3: Peel garlic and cut in half
4: Combine and boil in a large saucepan the vinegar, water and salt, bring to the boil 
5: Remove sterilised jars and fill with fennel. Half way after filling the jar, roughly add a combination of fennel seeds, pepper and mustard seeds. Also add half a glove of garlic. Repeat and continue filling. Each jar should contain one garlic clove and roughly one teaspoon of mixed seeds.
6: Use a colander and fill the fennel jars with the boiling hot vinegar mixture, allow a 1cm clearance. Seal tightly.
7: Add the tightly sealed jars to a large pot of boiling water and make sure the jars are completely submerged in water. Add the lid and simmer for 20 minutes. This method will ensure that you have successfully preserved the fennel to enjoy all year round.
 #fennel #finnochio #recipe #ricetta #preserve #conserve #cooking #food 

Saturday, July 28, 2018

Fegatini di pollo Toscani- Tuscan pate spread

It surprises me that I have never shared this recipe with you. It is the pinnacle of Tuscan cuisine. And has been such a prevalent part of my Tuscan life throughout the years.
On my first romantic evening in Firenze, it was aperitivo hour. Which I was naive to at the time.
Through a recommendation, we went to a quaint bar called 'a volpe e l'uva'. The place was filled with Tuscan wines stored within the ceiling high timber shelving, and there are were no more than eight stools at the bar. We casually sat at the bar, and I ordered a glass of wine. Probably a Chianti classico, it was eight years ago and was one of the only Italian wine varieties I knew. With a glass of wine, a small plate of various food was placed in front of us. It included cured meats, cheese (with honey), and small crusty pieces of bread with a brown paste smeared on top. This is the moment that I fell in love with aperitivo. That with a glass of wine, comes a complimentary tasting plate of finger food.
Since then, I have learnt that the brown paste smeared on top of the crusty bread, is in fact 'fegatini di pollo toscani' (or simply known as fegatini), chicken liver pate Tuscan style.
This beloved brown paste, is served in every Tuscan restaurant, trattoria, enoteca, osteria, and is loved amongst Tuscans. It will be found on the menu under antipasto, crostini.
Crostini is also a stable starter in most Tuscan homes, and is also served during important festive seasons.
The reason that I am thinking of this recipe now, is that Easter is upon us, and the Easter table would not be complete without it. I am feeling quite nostalgic, and making this dish has been like an invisible embrace.
Traditionally it is accompanied with various cheeses and cured meats, but the crostini are usually presented on a plate of their own. Due to the unappealing colour, I generally add a few sprigs of fresh rosemary, but that is being pretty 'fancy' for old school rustic Tuscan standards and is by no means necessary.
Yes, of course, every Tuscan household will have a different version of this recipe. Some add balsamic vinegar, but that is made in Modena therefor instantly making it non Tuscan. Some add capers, and some don't, I do! This is a recipe lovingly handed down to me, and I have just tweaked it a little, learning from various Nonna`s.
Make sure you serve it abundantly on wholemeal dense crusty bread!
Grab a glass of red, put on some Bocelli, and I guarantee you will be transported to Toscana! 
What you need:
500 grams of well cleaned chicken livers
two white onions roughly chopped
50 grams of salted butter
Good drizzle of oil oil
1/2 cup of dry white wine
four anchovy fillets, made in Italy and in olive oil
three teaspoons of Italian capers in vinegar 
bayleaf
rosemary sprigs
3/4 garlic cloves 
salt and pepper to taste
How to make:
1: It is really important that you start of with clean chicken livers to prevent it from tasting bitter. Soaking the livers in cold water and removing any connective tissue will give you clean livers ready to use. You can ask your butcher to clean for you, but it always good to triple check and clean at home. If you are unsure of how to clean correctly, please research separately the simple cleaning techniques.
2: Add butter, olive oil, finely chopped onion and salt to a heavy based pan. Simmer for about 10 minutes on a low heat until the onions are translucent. Add chopped garlic and anchovies and cook for a further two minutes.
3: Add cleaned chicken livers to pan and brown off whilst stirring. 
4: Add white wine,water, rosemary and bayleaves. Allow to simmer on a low heat for roughly 30 minutes until most of the liquid has evaporated.
5: Add capers and stir though.
6: Turn off heat and allow to cool slightly, before passing the chunky mix through a food processor. The consistency is merely a matter of preference. I like mine quite smooth, therefor I blend for a longer amount of time. Blend the mix until you reach your desired consistency.
7: Serve warm on crusty bread and enjoy with red wine, or it can be kept in the fridge for about a week. Also enjoyable served at room temperature, and a great 'go to' party snack.
Home made jars of fegatini made for tasty gifts
A rather zany antipasto platter, with fegatini in the foreground